

Three hits of chocolate in one cake. Cocoa in the sponge, a hot cocoa milk soak poured over it while it is still warm, and a whipped ganache cream on top. No frosting skills required. No gelatin. Nothing that can seize on you if you follow the temperatures.
The soak is the whole point. You poke the hot cake full of holes, pour hot chocolate milk over it, and let it drink. What comes out the other side is closer to a pudding cake than a regular sponge, and it stays that way for three days.
Ingredients
Chocolate sponge
- 4 large eggs, room temperature
- Pinch of salt
- 1/2 cup plus 2 teaspoons granulated sugar (105 g)
- 3/4 cup all-purpose flour, spooned and leveled (90 g)
- 1/4 cup plus 2 tablespoons unsweetened cocoa powder, sifted (30 g)
- 1 1/2 teaspoons baking powder
- 1/4 cup whole milk (60 g)
Chocolate soak
- 3/4 cup whole milk (180 g)
- 3 tablespoons unsweetened cocoa powder (18 g)
- 1/4 cup rum, brandy, or strong espresso (60 g), optional
Chocolate cream
- 3.4 oz bittersweet chocolate, 70 percent cacao, finely chopped (95 g)
- 1/2 cup heavy cream, 33 to 35 percent fat, hot, for the ganache (120 g)
- 3/4 cup heavy cream, cold, for whipping (180 g)
- 2 tablespoons powdered sugar (20 g), or to taste
- Cocoa powder for dusting
Two shopping notes. Whole milk, not skim. The fat in the milk is part of why the crumb stays soft, and skim soak makes the cake wet without making it rich. And your cold cream has to be 33 percent fat or higher, otherwise it will not hold peaks once the ganache goes in. In Europe look for the carton that says 33 or 35 percent. In the US, heavy cream or heavy whipping cream.
Step 1. Whip the eggs, sugar and salt
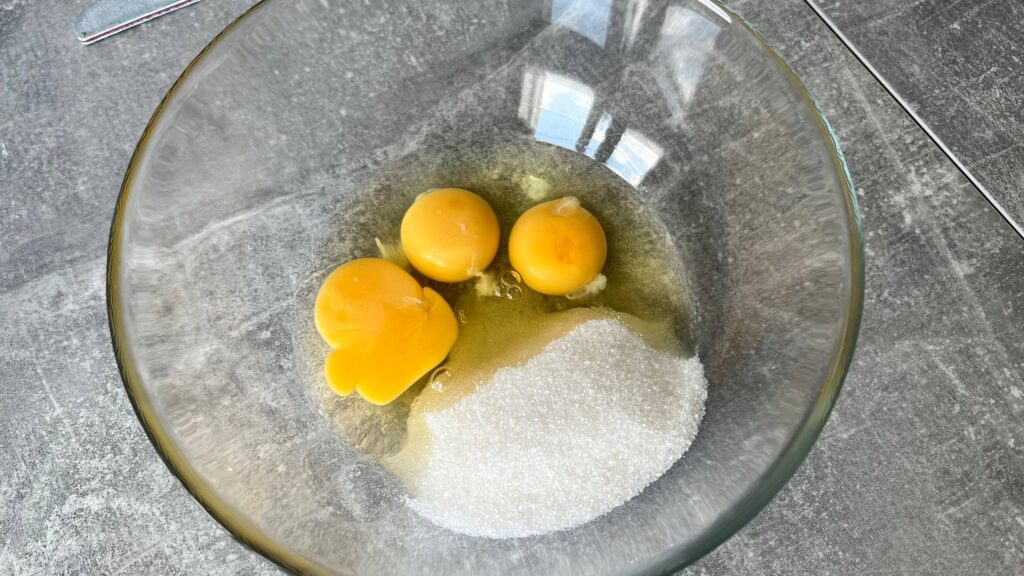
High speed, about 2 minutes, until the mixture is pale and doubled in volume. It does not need to reach the thick ribbon stage that a classic genoise needs, because you have baking powder here doing part of the lifting. Pale and doubled is enough.
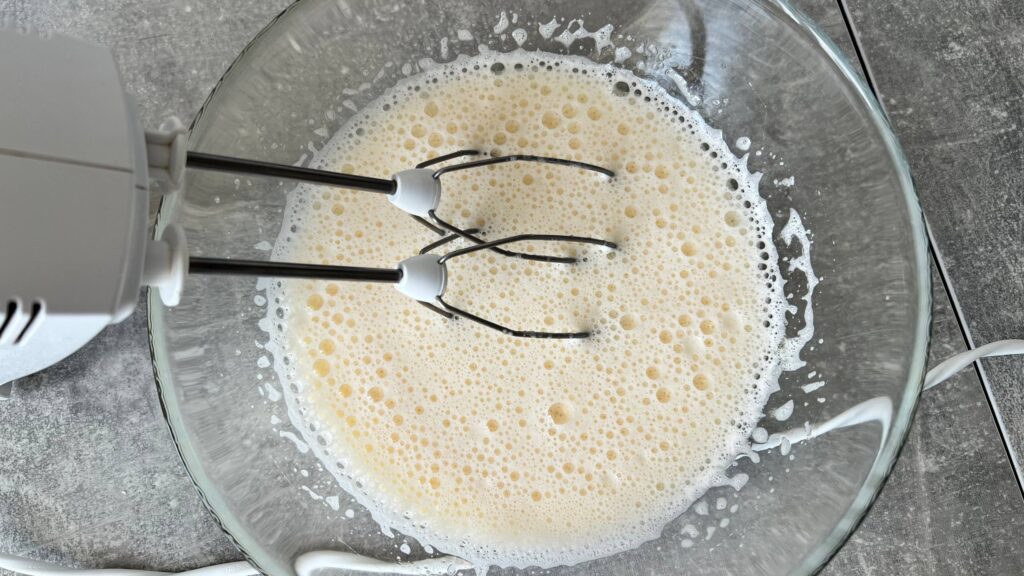
Cold eggs will not double in two minutes. Warm them in a bowl of hot tap water for ten minutes if you forgot to set them out.
Step 2. Sift the dry mix
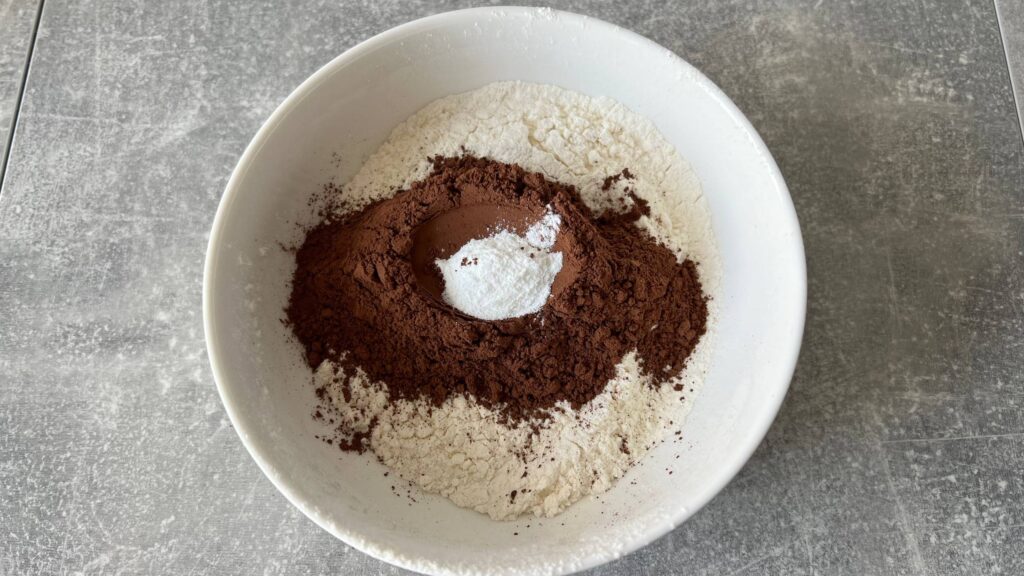
Flour, cocoa and baking powder together through a sieve. Cocoa clumps, always, and those clumps will not break up in a folded batter unless you beat it, and beating it kills the air. Sift once and save yourself the argument.
Step 3. Fold in half the dry mix
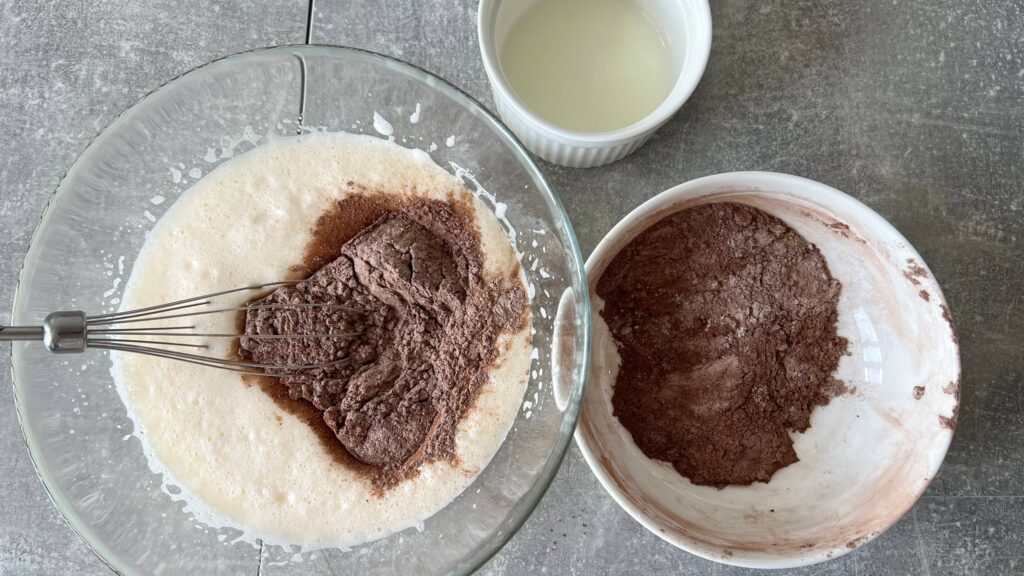
Half now, half later. Spatula only. Cut down the center, sweep the bottom, lift and turn the bowl a quarter turn. Stop while a few dry streaks are still visible, because the milk is coming next and it will finish the job.
Step 4. Stream in the milk, then the rest of the dry mix
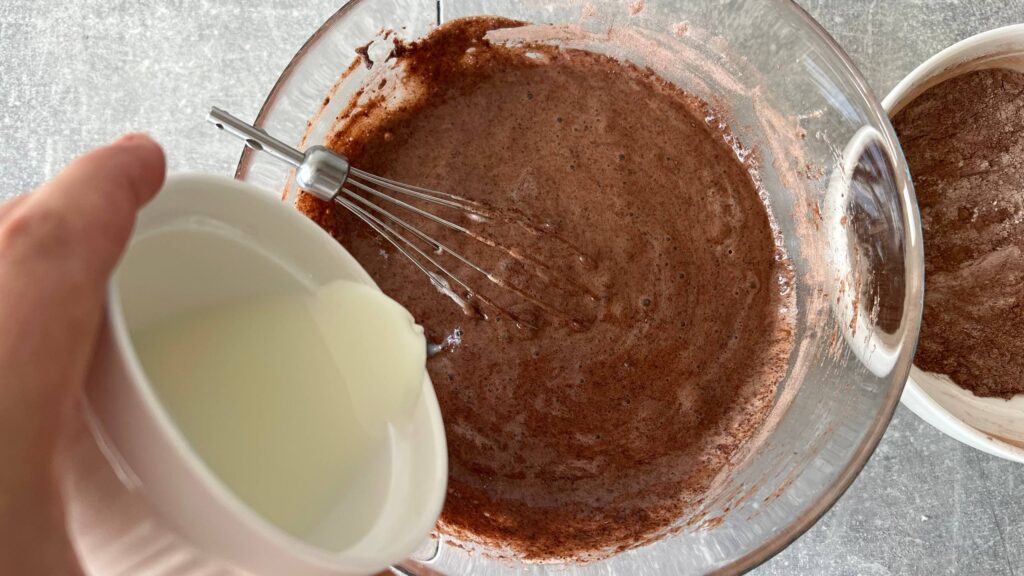
Pour the 1/4 cup of milk down the side of the bowl in a thin stream while folding. Down the side, not into the middle. Liquid dropped into the center of a foam punches a hole straight through it.
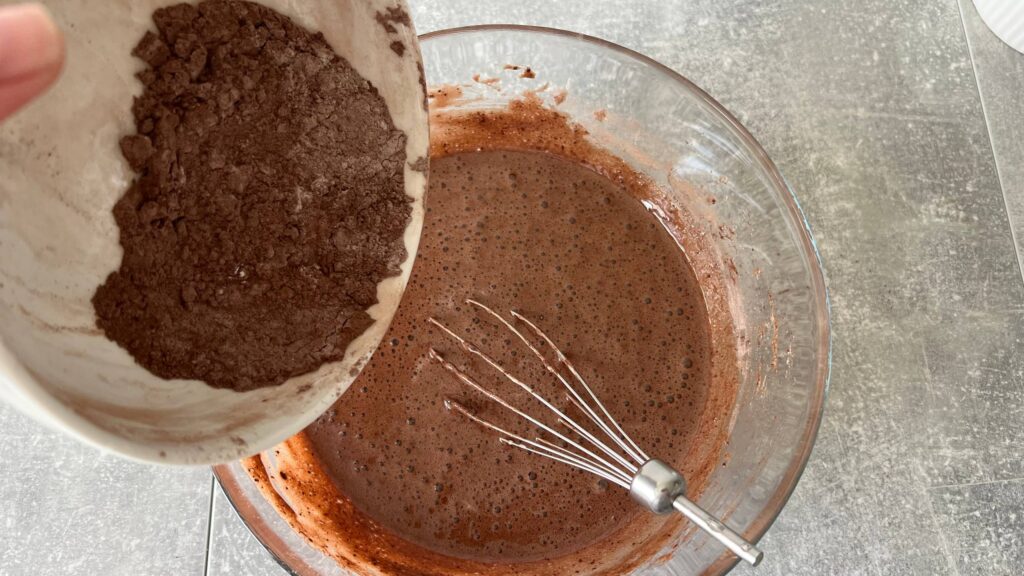
Then the remaining dry mix, folded in the same way. The batter should be thick but pourable and evenly dark, with no pale patches. Once it looks uniform, put the spatula down. Every extra fold from here costs you height.
Step 5. Bake
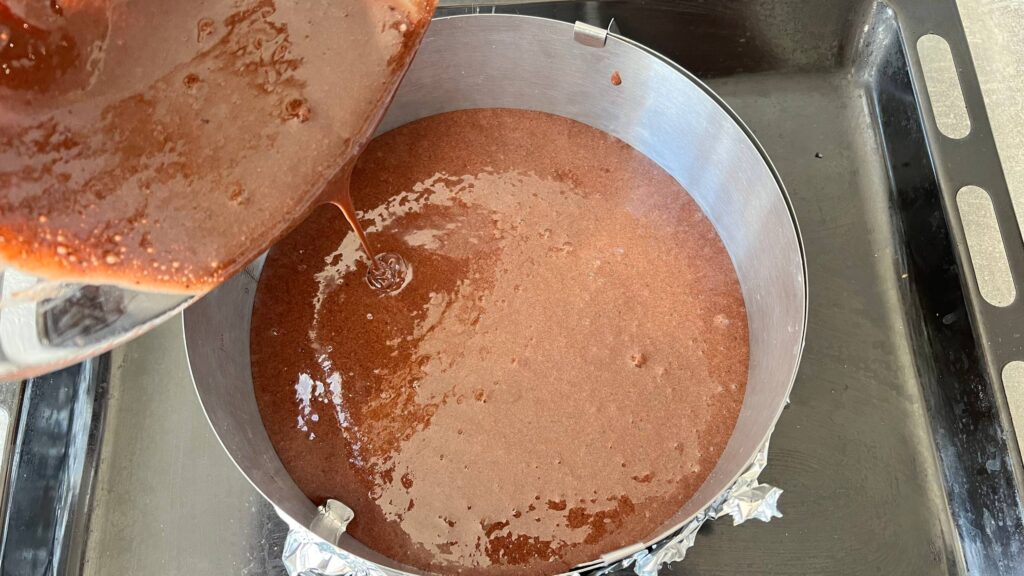
Top and bottom heat, no fan. Line the bottom of an 8.5 inch (22 cm) springform with parchment and leave the sides bare. Pour, level, rap the pan on the counter once.
In a 22 cm pan this batter sits a little deeper than it would in a standard 9 inch round, so start testing at 25 minutes and give it up to 30. Toothpick in the center should come out clean. If the top is darkening faster than the middle is setting, lay a sheet of foil loosely over the pan and keep going. Do not open the door before the 22 minute mark.
Step 6. Make the soak while the cake bakes
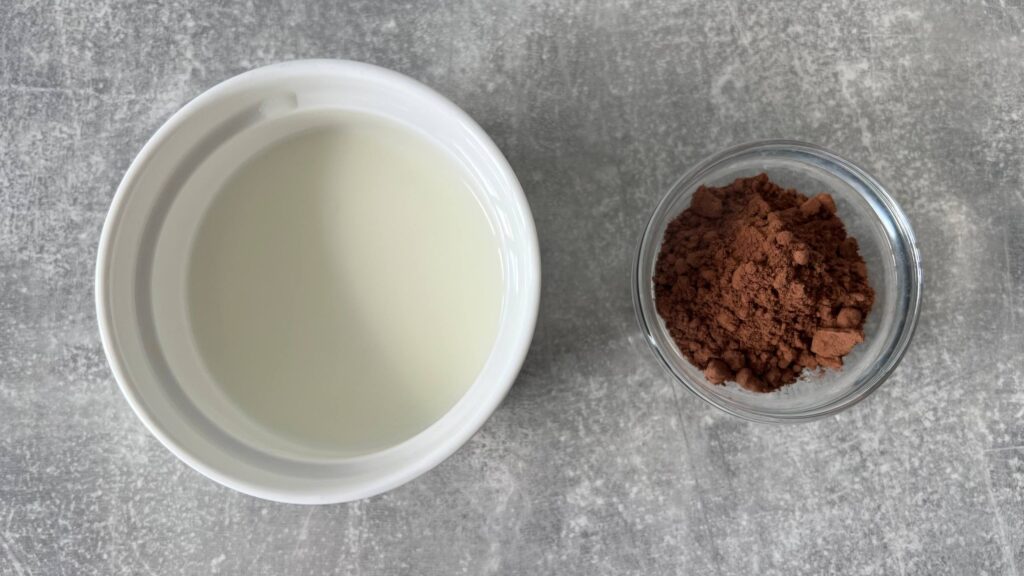
Bring the 3/4 cup of milk to a boil, pull it off the heat, and whisk in the cocoa until there are no lumps. Then add the rum, brandy or espresso if you are using it.
My honest opinion after testing all three: espresso is the one I reach for most, because it deepens the chocolate without announcing itself. Rum tastes like a holiday cake. Brandy is somewhere in between. Skip the alcohol entirely and add two tablespoons of extra milk instead, and nobody will miss it.
Step 7. Poke and soak the hot cake
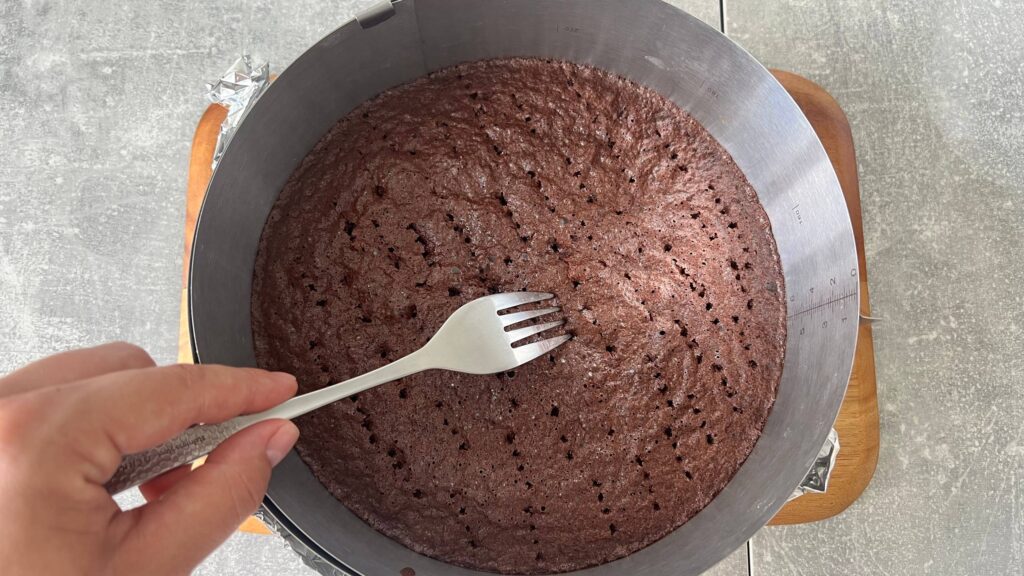
This has to happen while the cake is hot, straight out of the oven. Warm crumb absorbs. Cool crumb just gets wet on the surface and stays dry underneath.
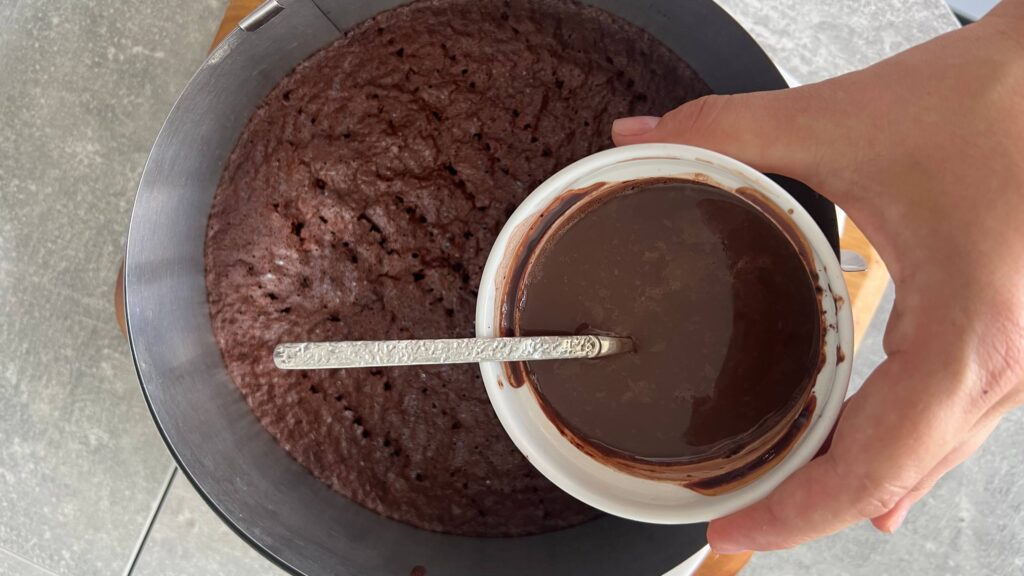
Poke the whole surface with a fork, right down to the bottom, every half inch or so. More holes than feels reasonable. Then pour the hot soak over slowly, in three or four passes, letting each one disappear before adding the next. It will look like far too much liquid. It is not. Give it twenty minutes and the top will look almost dry again.
Leave the cake in the pan while it soaks so nothing runs out the sides.
Step 8. Cool completely
All the way to cold. The cream topping goes on a cold cake, never a warm one, or it will slide off and melt into a puddle. Room temperature for an hour, then thirty minutes in the fridge if you are impatient, which I usually am.
Step 9. Make the ganache
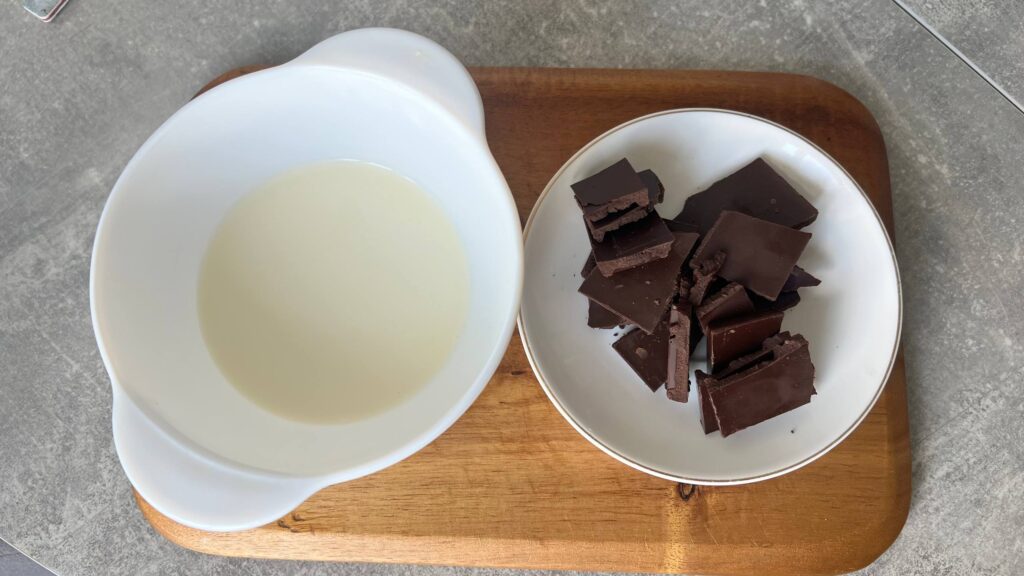
Chop the chocolate finely, uneven chunks melt unevenly. Heat the 120 g of cream until you see steam and bubbles around the rim, not a rolling boil. Pour it over the chocolate and then wait 1 to 2 minutes without touching anything.
Now the immersion blender. Keep the head fully submerged and tilted slightly so you are not whipping air in, and blitz until it turns glossy and completely smooth. The blender is genuinely better than a whisk here, because 70 percent chocolate is stubborn and a whisk leaves you with a slightly grainy emulsion. If you only have a whisk, work from the center outward in tight circles until it flips smooth.
Step 10. Cool the ganache. Do not skip this
This is the single step that decides whether your cream works. The ganache needs to come down to around 82 to 86°F (28 to 30°C) before it meets whipped cream.
Warm ganache melts the cream and you get chocolate soup that never firms up. Ice cold ganache seizes on contact and gives you hard little specks through the whole topping. No thermometer? Press the back of your hand to the side of the bowl. If you feel neither warmth nor chill, go. Roughly 40 minutes on the counter, stirred every ten so the edges do not set ahead of the center.
Step 11. Whip the cold cream
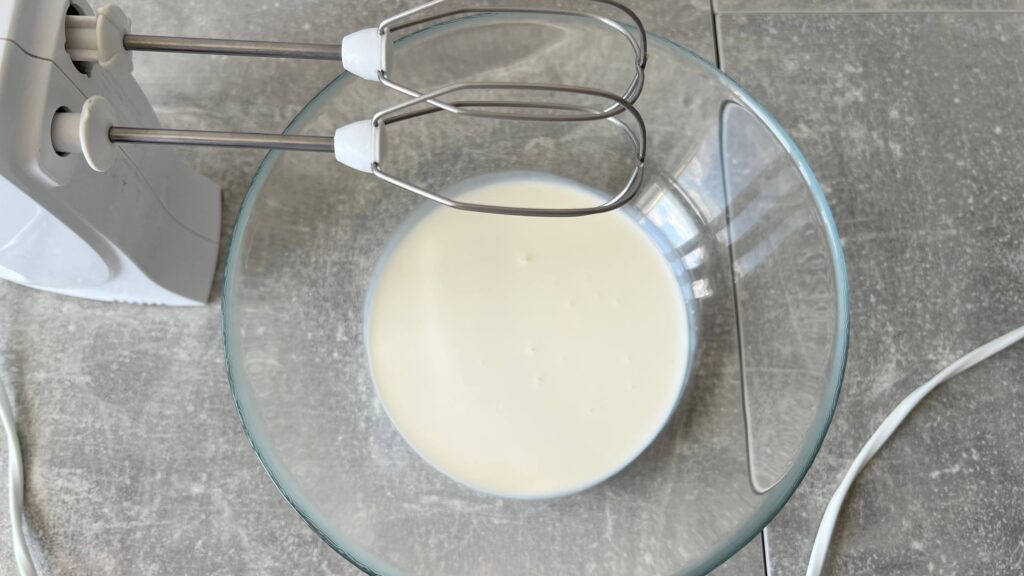
Cold cream, cold bowl, cold beaters. Add the powdered sugar and whip to firm peaks. Firm, not stiff and squeaky. The peak should hold its shape with just a slight curl at the tip.
Powdered sugar rather than granulated, because the cornstarch in it gives a little extra stability and it dissolves instantly. Two tablespoons is where I land with 70 percent chocolate. Taste and adjust, some people want three.
Step 12. Fold the ganache into the cream
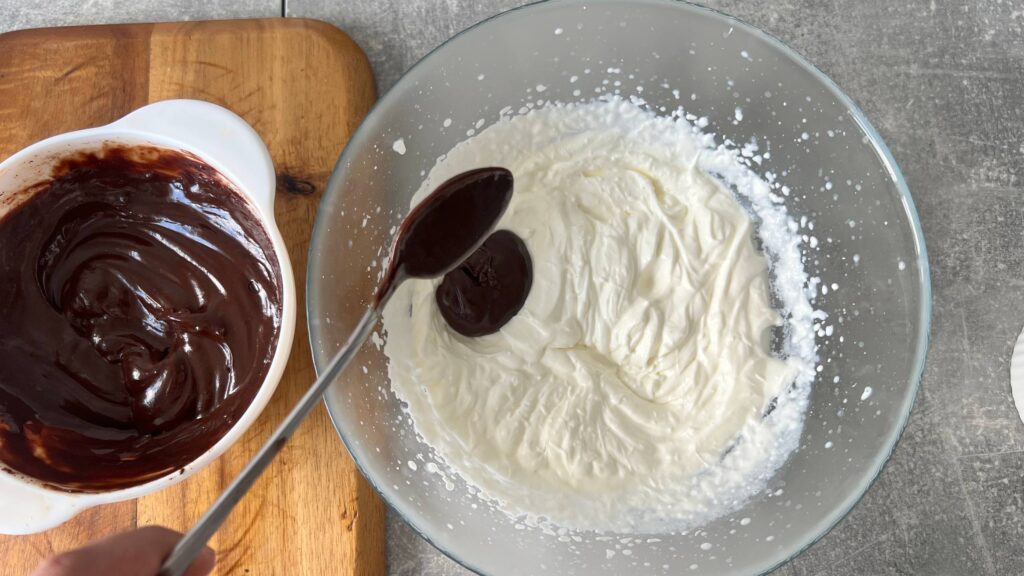
Three additions. The first third goes in with a fairly assertive stir to loosen everything and match the two densities. The last two thirds get gentle folding.
Stop the moment the color is even with no pale streaks. It should look like soft chocolate mousse and hold a swirl without slumping.
Step 13. Spread, chill 1 to 2 hours, dust
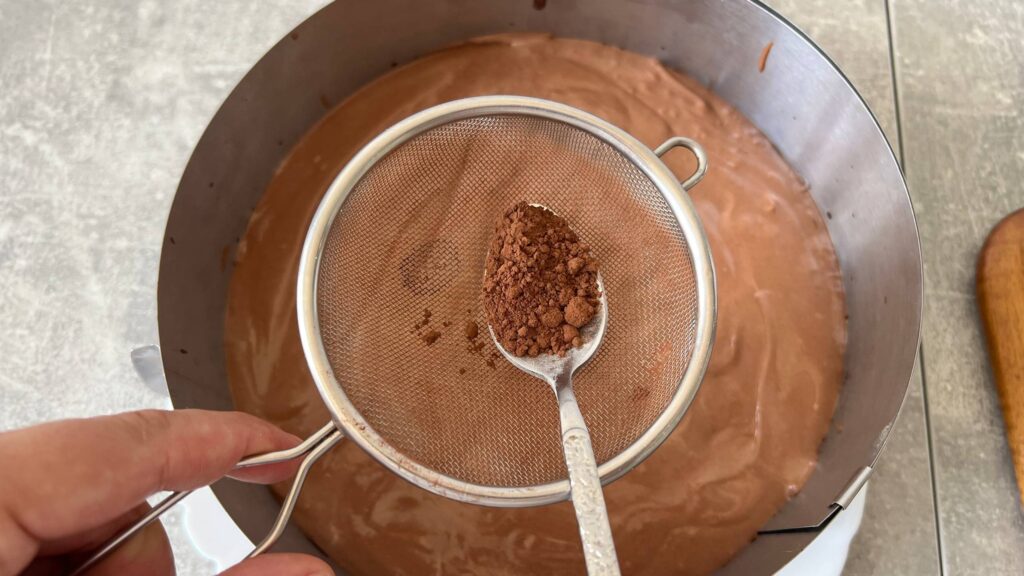
Spread the chocolate cream over the cold soaked cake in a thick even layer, or leave big spoon swoops in it, which is what I do because it photographs better and takes ten seconds. Fridge for 1 to 2 hours to set.
Dust with cocoa right before serving, not before chilling. Cocoa dusted early absorbs moisture and goes patchy and dull.
When it goes wrong
Grainy chocolate cream. Ganache was too cold going into the cream. Warm the bowl gently from the outside with a hair dryer while stirring slowly and it usually comes back together.
Cream will not hold peaks. Either the ganache was still warm, or your cream is under 33 percent fat. Warm ganache is fixable only by starting the topping over.
Soak pooled at the bottom. Not enough fork holes, or the cake had already cooled. Next time poke twice as much and pour within five minutes of taking it out of the oven.
Sponge sank in the middle. Door opened too early, or the batter got overfolded after the milk went in.
Other pan sizes
The recipe as written suits an 8.5 inch (22 cm) round. For a 9 inch (23 cm) the layer is slightly thinner, so check at 23 minutes. For a 10 inch (26 cm) multiply everything by 1.4 and bake 28 to 32 minutes. An 8 inch square works too, same timing, and it slices into neat portions for a crowd.
Storage
Covered in the fridge, up to 3 days, and it is better on day two than day one. The soak keeps redistributing overnight. I would not freeze the finished cake, because whipped cream toppings weep on thawing, but the plain soaked sponge freezes fine for a month wrapped tight.
Nutrition
Per slice, based on 10 slices, approximate: 320 calories, 6 g protein, 20 g fat, 29 g carbohydrates, 19 g sugar. Values shift depending on your chocolate and whether you use the liqueur.
FAQ
Can I make it without alcohol?
Yes. Use strong espresso, or just add 2 extra tablespoons of milk to the soak. The cake is not built around the alcohol.
Can I use milk chocolate for the cream?
Not one for one. Milk chocolate carries much less cocoa butter, so you would need roughly 1.5 times the weight to get the same set, and the result is a lot sweeter. With 70 percent the topping tastes balanced against the sweet soaked sponge.
Dutch-process or natural cocoa?
The recipe is written for unsweetened cocoa and works with either. Dutch-process gives a darker, mellower cake. Natural cocoa bakes up redder and tastes sharper and fruitier.
Does the soak make the cake soggy?
Not if you pour it onto a hot cake. Hot crumb pulls the liquid in through the whole depth. Pouring onto a cooled cake is what makes the bottom soggy while the top stays dry.
Can I make it a day ahead?
Yes, and I would. Bake and soak the day before, chill overnight, make the cream and top it a few hours before serving.
Recipe Card
Triple Chocolate Cake
Pan: 8.5 inch (22 cm) round
Prep: 30 minutes
Bake: 25 to 30 minutes at 350°F (175°C), top and bottom heat, no fan
Chill: 1 to 2 hours
Total: about 3 hours
Yield: 10 slices