

My air fryer cost me $39 at Target. It was a Saturday afternoon impulse buy, the kind where you’re wandering the home aisle with a coffee and suddenly you’re at checkout with something you didn’t plan on owning. That was three years ago. Now it’s the only way I cook chicken breast, and I make it almost every week.
Why I Stopped Baking Chicken Breast in the Oven
Oven-baked chicken breast never worked out for me. Foil, no foil, high heat, low heat, didn’t matter. Forty-five minutes later I’d pull out something dry and forgettable. The stovetop was a different kind of frustrating: golden on one side, raw-looking on the other. Not great when you’re dealing with poultry.
The air fryer cooks with circulating hot air in a small space, so it browns the outside fast while the inside stays moist. I run mine at 375°F and the chicken is done in about 20 minutes. You need barely any oil. I don’t fully get why it works so much better than the oven. Something about the heat being closer, more concentrated. Whatever the reason, the results are consistent and I stopped questioning it a long time ago.
Air Fryer Chicken Breast Ingredients
Nothing complicated. Here’s what I use:
The chicken:
- 4 boneless skinless chicken breasts (6-8 oz each)
- 2 tablespoons olive oil
- Salt and pepper
Seasoning mix:
- About a teaspoon each of garlic powder, onion powder, and smoked paprika
- A pinch of Italian seasoning
- A pinch of dried thyme
- Cayenne, just a dusting, or more if you like heat
For a crispy coating (when I’m in the mood):
- ½ cup panko breadcrumbs
- A couple tablespoons of grated Parmesan
- Dried parsley
Marinade (if you remember the night before):
- A splash of buttermilk or plain yogurt
- A squeeze of lemon
- A spoonful of Dijon mustard
The lemon and buttermilk soften the meat somehow. I noticed a clear difference the first time I tried it; the chicken was more tender all the way through and my roommate actually commented on it, which never happens. I’d like to say I marinate regularly but I usually forget until it’s too late. The recipe is still plenty good without it.
How to Cook Chicken Breast in an Air Fryer
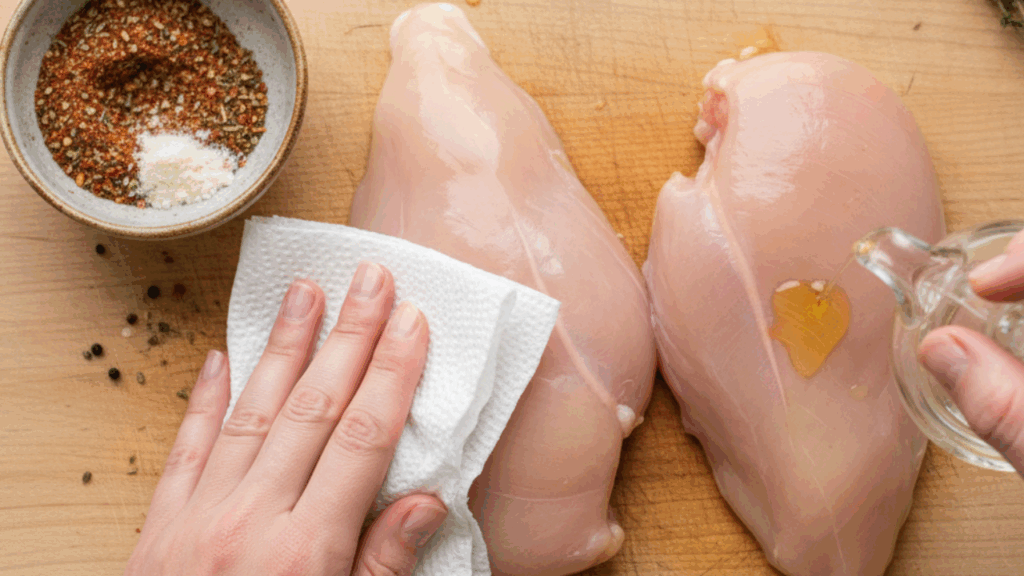
Take the chicken out of the fridge about 20 minutes before you start. Cold chicken cooks unevenly, the outside gets done while the center is still catching up. I had a few batches early on where the chicken looked perfect but was pink inside, and this was the fix.
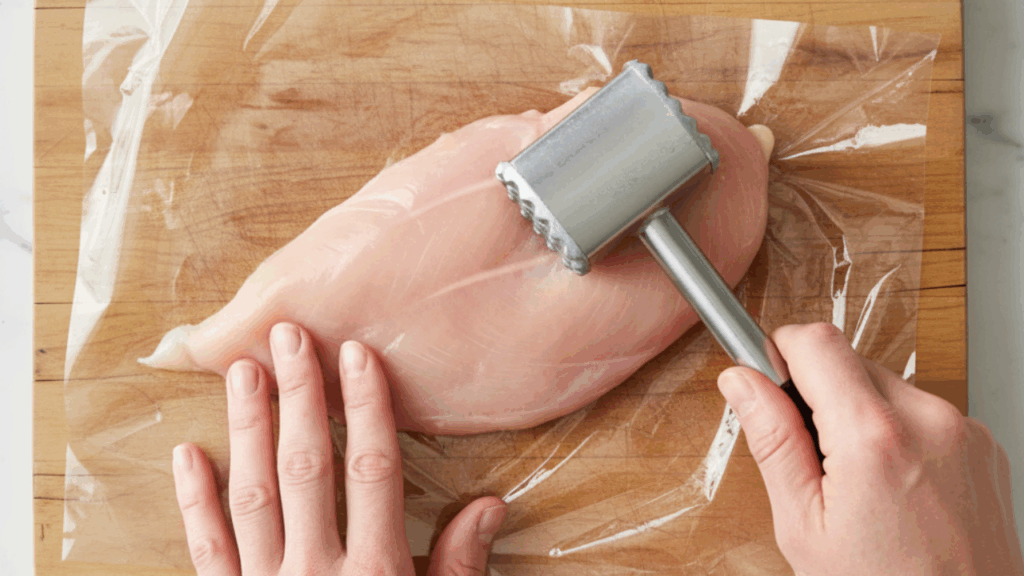
Pat the breasts dry with paper towels, then pound each one to even thickness, about ¾ inch all the way across. Chicken breasts are weirdly lopsided, thick on one end, thin on the other, and if you skip this the thin part will dry out while the thick part finishes cooking. I use a zip-lock bag and my old cast iron skillet because I’ve never owned a meat mallet. Twenty seconds per breast. Not glamorous but it solves the biggest problem people have with chicken.

Drizzle olive oil on both sides and rub it in. Then hit it with the spice mix, both sides, and press it in a little so it sticks. Use more than you think you need. My first attempts were bland because I was cautious with the seasoning, and there’s no fixing underseasoned chicken after it’s cooked. You want a visible layer of spice on every surface. If you’re doing the panko coating, press the seasoned breasts into the breadcrumb mixture now. The oil acts as the glue.
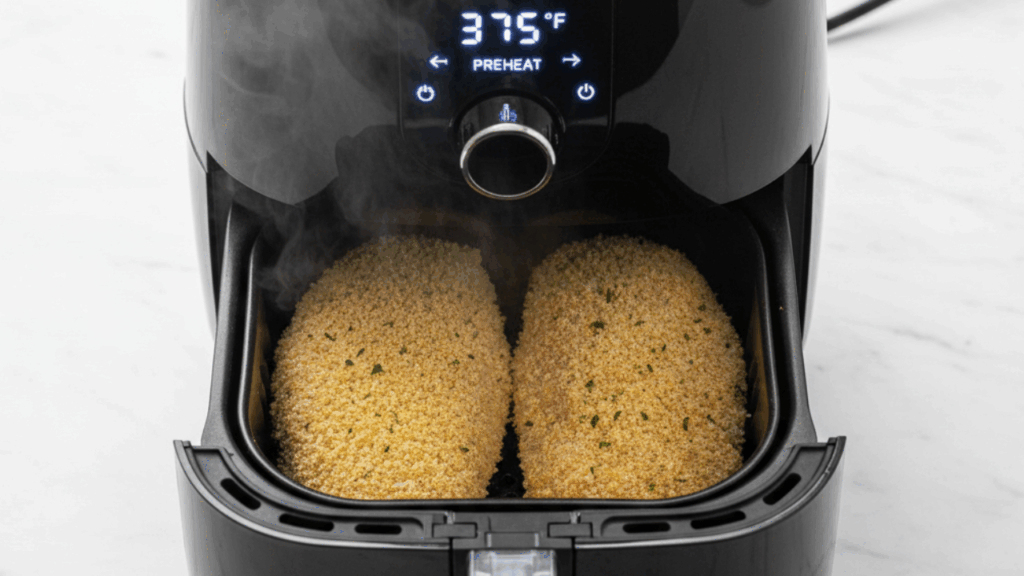
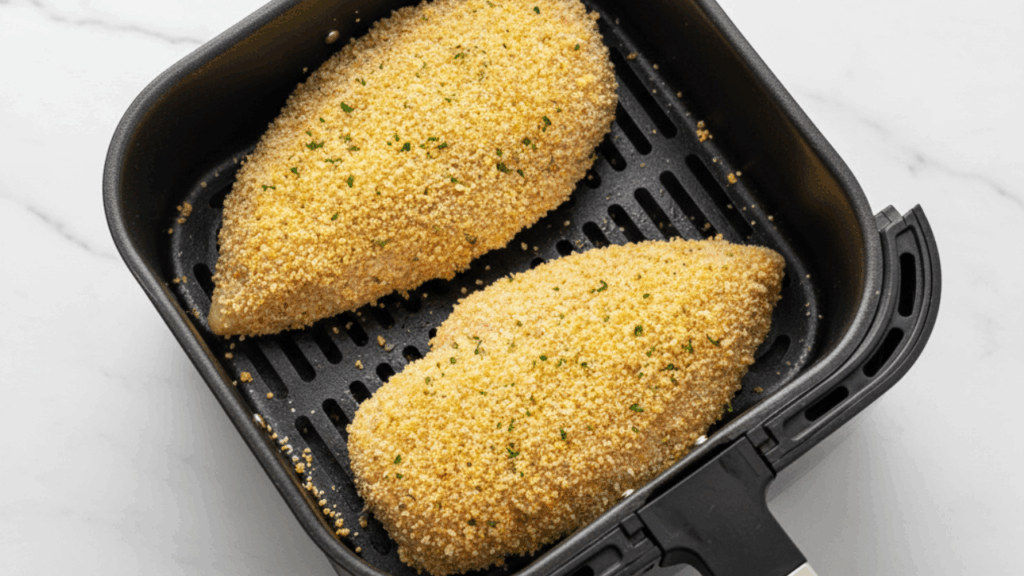
Preheat the air fryer to 375°F for a few minutes. Spray the basket, lay the chicken in a single layer with space between pieces. Don’t crowd the basket. If the air can’t move, the chicken steams instead of crisping. My Ninja fits two large breasts comfortably so I cook in two rounds when I’m doing all four.

Ten minutes on the first side. Flip. Another 8-10 minutes. Check the temperature at the thickest point, you’re looking for 165°F. My air fryer runs a bit hot, so I start checking around the 17-minute mark. If you don’t own an instant-read thermometer, this is your sign to buy one. Mine cost $8 at the grocery store and it took all the guesswork out. Before I had it, I’d cut into the chicken to check doneness and half the juice would run out. A thermometer avoids that entirely.

Move the cooked chicken to a cutting board, cover loosely with foil, and leave it alone for five minutes. If you slice it immediately, the juice runs out and the chicken dries out fast. Five minutes makes a real difference. The temperature also rises a few degrees during this time, so you can even pull the chicken at 162°F if you want to be precise about it.
Flavor Variations That Actually Work
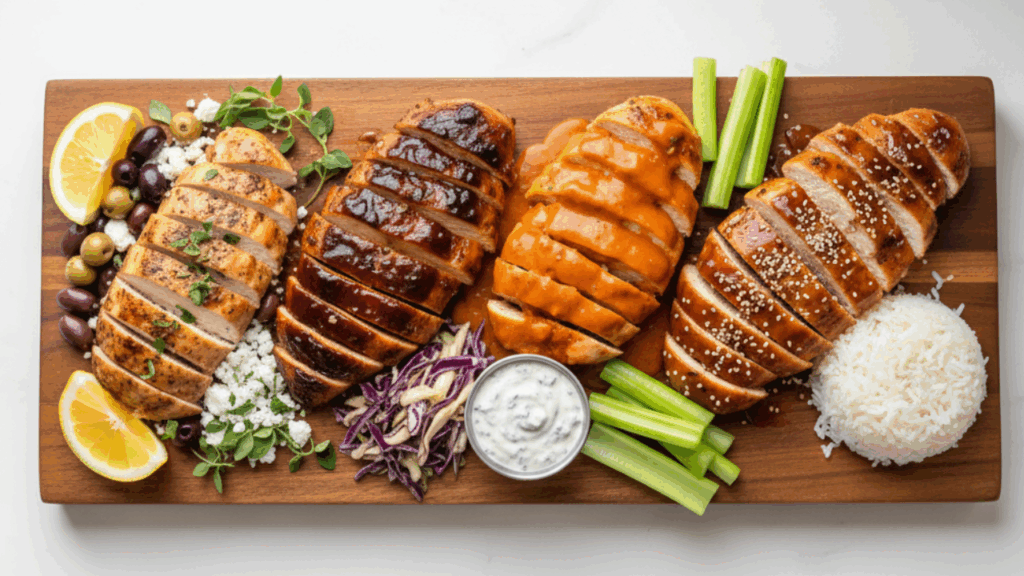
The base recipe is what I make most. But the same method works with completely different flavors, which is the real reason I haven’t gotten tired of it.
Mediterranean: oregano, basil, garlic, lemon zest. Slice it over a Greek salad with feta and tzatziki. BBQ: brush sauce on during the last 3 minutes only. I once put it on at the start and the sugar scorched and my kitchen filled with smoke in the middle of winter with all the windows sealed shut. That was a fun evening. Buffalo: cook the chicken plain, toss in sauce after. Teriyaki: marinate before, glaze after, serve over rice.
There was a week when I had nothing in the spice cabinet, we’d just moved and half the kitchen was still in boxes, so I used soy sauce, some honey, and a tube of ginger paste from the back of the fridge. Just mixed it together, rubbed it on, same cooking method. It was good. Better than it had any right to be. I’ve remade that combination a few times since, on purpose this time, with actual measurements. Still prefer the original slapdash version for some reason.
What to Do When It Doesn’t Turn Out Right
Dry chicken was my biggest issue at first. The fix was simple: stop overcooking it. Use a thermometer and pull it at 165°F instead of going by time alone. Brining helps too, a quarter cup of salt dissolved in 4 cups of water, chicken soaking for a couple hours. The texture changes noticeably. I don’t brine every time because it takes planning, but when I’m cooking for other people I make the effort.
If the seasoning keeps sliding off, the surface is probably too wet. Oil doesn’t stick to wet chicken, and seasoning doesn’t stick to oil that isn’t sticking to anything. Dry the chicken properly before oiling. That one took me a few batches to figure out.
Every air fryer cooks a little differently. My Ninja runs hotter than my friend’s Cosori at the same setting by a solid 2-3 minutes. Your first batch is a calibration run. After that you’ll know your machine and it gets automatic.
Meal Prep Air Fryer Chicken for the Week
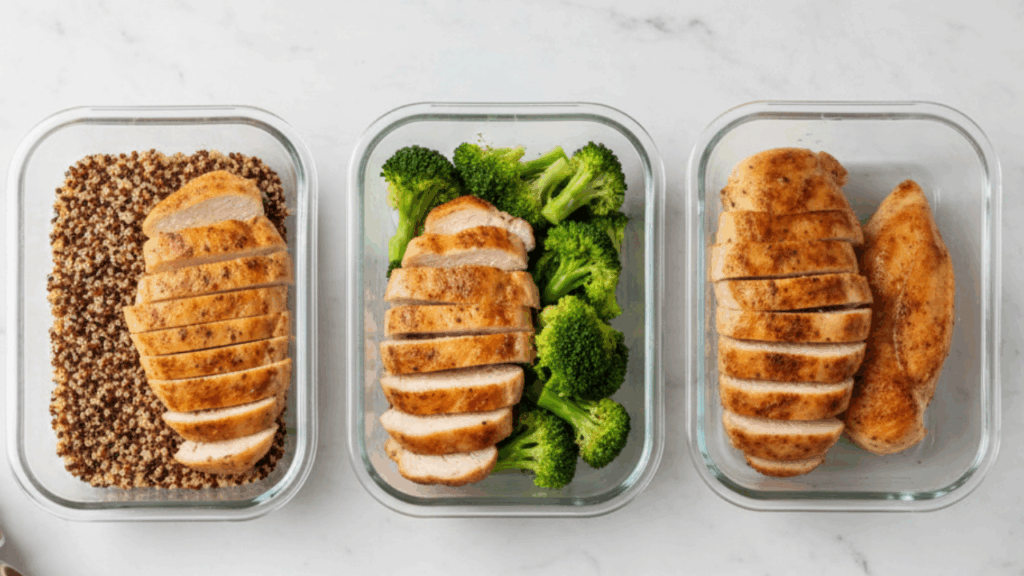
This is why I keep making this recipe. Four breasts on Sunday, and I eat off them through Thursday. Sliced into salads, diced for wraps, shredded for tacos, or just cold out of the container when I don’t feel like assembling anything. Let the chicken cool completely before storing. If you seal it while it’s still warm, condensation builds up inside and makes it soggy. Airtight containers, fridge, four days. You can freeze it too, wrapped in plastic then foil, for a couple months.
Reheating in the air fryer at 350°F for a few minutes brings the texture back close to fresh. The microwave works but the crispiness won’t survive it.
That’s really the whole thing. Chicken in an air fryer, 20 minutes, and it comes out well every time once you dial in the settings for your machine. I’ve been making this for three years and I still haven’t found a faster way to get good chicken on a weeknight. If your first try isn’t perfect, tweak the time or the seasoning and go again. By the third batch you won’t need to think about it.