

I’m going to be honest. When it’s raining, I don’t want to do anything productive. Zero motivation. My brain just switches to “couch mode” and the only thing that gets me off the sofa is hunger. Or maybe the smell of something baking. Probably both.
Over the years I’ve collected a handful of recipes that I keep coming back to on days like that. Nothing fancy. Nothing that requires seventeen specialty ingredients or a trip to three different stores. Just good, warm, simple food that makes the apartment smell amazing and my mood go from “meh” to “okay, life’s not so bad.”
So here are six things I actually make. Stained recipe cards and all.
Banana Bread Recipe for Rainy Days (My Go-To Since College)

Prep time: 10 minutes
Cook time: 55–60 minutes
Total time: about 1 hour 10 minutes
I think every person has a banana bread phase. Mine started in college when I had three brown bananas on the counter, no money for groceries until Friday, and a roommate who swore he had “the best recipe ever.” Spoiler: it was from the back of a flour bag. But you know what? It worked. And I’ve been making some version of it ever since.
The beauty of banana bread is that you literally cannot mess it up. I’ve forgotten the egg once. Still edible. I’ve doubled the sugar by accident. Honestly… it was better. This is the most forgiving baked thing on the planet, and it makes your kitchen smell like a Hallmark movie set.
Ingredients
- 3 ripe bananas (seriously, the uglier they look, the sweeter the bread)
- ⅓ cup melted butter
- ¾ cup sugar (I sometimes use ½ cup when I’m pretending to be healthy)
- 1 egg
- 1 tsp vanilla extract
- 1 tsp baking soda
- Pinch of salt
- 1½ cups all-purpose flour
- ½ cup chocolate chips or walnuts (optional, but come on)
First thing I do is crank the oven to 350°F and grease whatever pan looks clean. Then I mash the bananas in a big bowl. I use a fork because I can never find my potato masher. It’s probably behind the blender. Stir in the melted butter, then the sugar, egg, and vanilla. I sprinkle the baking soda and salt on top, fold in the flour, and try very hard not to overmix because someone on YouTube once told me that’s important.
Into the pan. Into the oven. Somewhere between 55 and 60 minutes later, I stick a toothpick in and if it comes out clean, we’re good. If not, five more minutes. I’ve never actually timed it perfectly.
A warm slice with butter melting on top, a cup of coffee, rain on the window. That’s it. That’s the whole vibe. Sometimes I drizzle peanut butter on it, which sounds weird but trust me on this one.
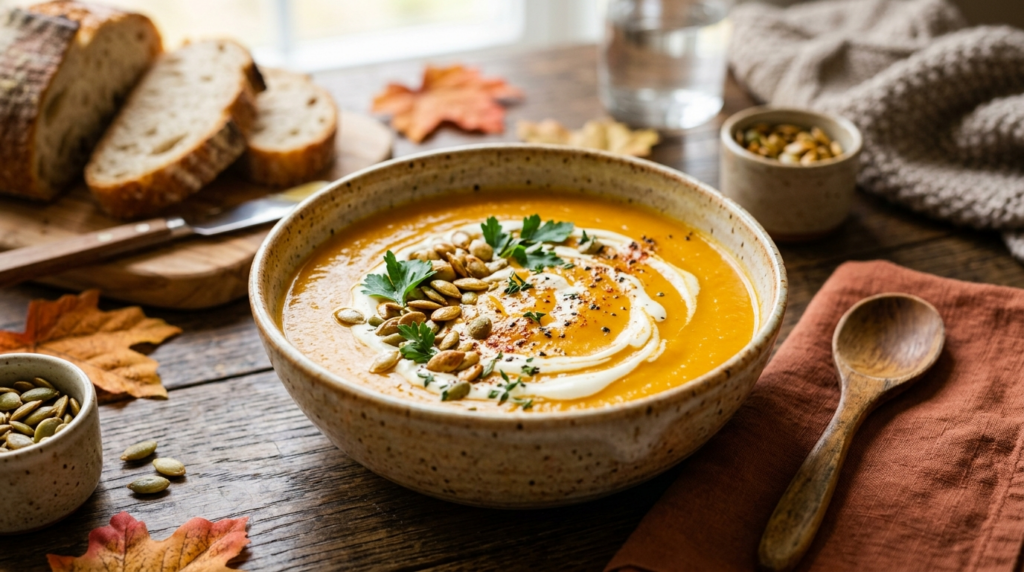
Easy Pumpkin Soup Recipe (Ready in 30 Minutes)
Prep time: 10 minutes
Cook time: 20 minutes
Total time: 30 minutes
I didn’t grow up eating pumpkin soup. I didn’t even know it was a thing until a friend made it for a dinner party a few years ago and I was like… wait, this is what I’ve been missing? It tasted like fall in a bowl. Rich but not heavy. Sweet but also savory in a way I couldn’t quite figure out. I asked for the recipe before I’d even finished the bowl.
And then I simplified it. Because her version had like twelve steps and I am not that person.
Ingredients
- 2 tablespoons butter or olive oil
- 1 small onion, chopped
- 2 cloves garlic, minced
- 2 cups pumpkin puree (canned is totally fine, I’m not out here roasting pumpkins on a Tuesday)
- 3 cups vegetable or chicken broth
- ½ cup heavy cream or coconut milk
- ½ teaspoon cinnamon
- ¼ teaspoon nutmeg
- Salt and pepper to taste
I start by melting the butter and cooking the onion until it goes soft. Maybe five minutes. Then the garlic goes in for like thirty seconds because burned garlic is the enemy of all good food. After that I dump in the pumpkin puree, cinnamon, nutmeg, salt and pepper and stir it around. Already smells incredible at this point.
Then the broth. Bring it to a simmer and let it hang out for ten to fifteen minutes. I use my immersion blender to make it smooth. If you don’t have one, a regular blender works but be careful because hot soup in a blender is a disaster waiting to happen. I learned that the hard way. There was pumpkin on the ceiling.
And the last thing: stir in the cream. Don’t let it boil after this, just warm it through. I like to top mine with some toasted pumpkin seeds and a piece of crusty bread for dipping. My neighbor once added a little maple syrup to hers and honestly that was genius.
Homemade Chicken Pot Pie Recipe for a Cozy Dinner

Prep time: 20 minutes
Cook time: 25–30 minutes
Total time: about 50 minutes
Okay, chicken pot pie. This is the one I make when I want to feel like I actually have my life together. There’s something about pulling a golden, bubbling pot pie out of the oven that makes me feel like a functioning adult. Even if the rest of my apartment is chaos.
I used to think pot pie was complicated. It’s not. Especially if you use store-bought puff pastry (which I always do, no shame) and rotisserie chicken (again, no shame). The filling comes together in one pan, you pour it in a dish, slap the pastry on top, and the oven does the rest.
Ingredients for the filling
- 2 tablespoons butter
- 1 small onion, diced
- 2 carrots, diced
- 2 celery stalks, chopped
- 2 cloves garlic, minced
- 2 cups cooked chicken, shredded or cubed (rotisserie works great)
- ⅓ cup all-purpose flour
- 2 cups chicken broth
- 1 cup milk or heavy cream
- 1 cup frozen peas
- Salt and pepper to taste
- ½ teaspoon dried thyme (if I remember to buy it)
For the top
- 1 sheet puff pastry (store-bought, no judgment)
- 1 egg, beaten for brushing
First I melt the butter and cook the onion, carrots, and celery for about five or six minutes. Then the garlic. Then I sprinkle the flour over everything and stir it around for a minute so it coats the veggies. Slowly I pour in the broth while whisking, then the milk. It thickens up and turns into this gorgeous creamy sauce. I toss in the chicken and peas, let it simmer a couple minutes, and take it off the heat.
A thing I almost forgot: let the filling cool for a few minutes before you put the pastry on. I didn’t do this the first time and the pastry got all soggy and sad. Lesson learned.
Pour it into a baking dish, lay the puff pastry on top, trim the edges, cut a few slits so steam can escape, brush it with the egg. Into the oven at 400°F for 25 to 30 minutes. When the crust is golden and you can hear it bubbling underneath… that’s when you know.
Let it sit for a few minutes before cutting in. I know it’s hard. I’ve burned the roof of my mouth more times than I want to admit.
Sometimes I throw mushrooms in. Once I used leftover Thanksgiving turkey instead of chicken and it was maybe the best version I’ve ever made. You can also do this in individual ramekins which looks really impressive for very little extra effort.
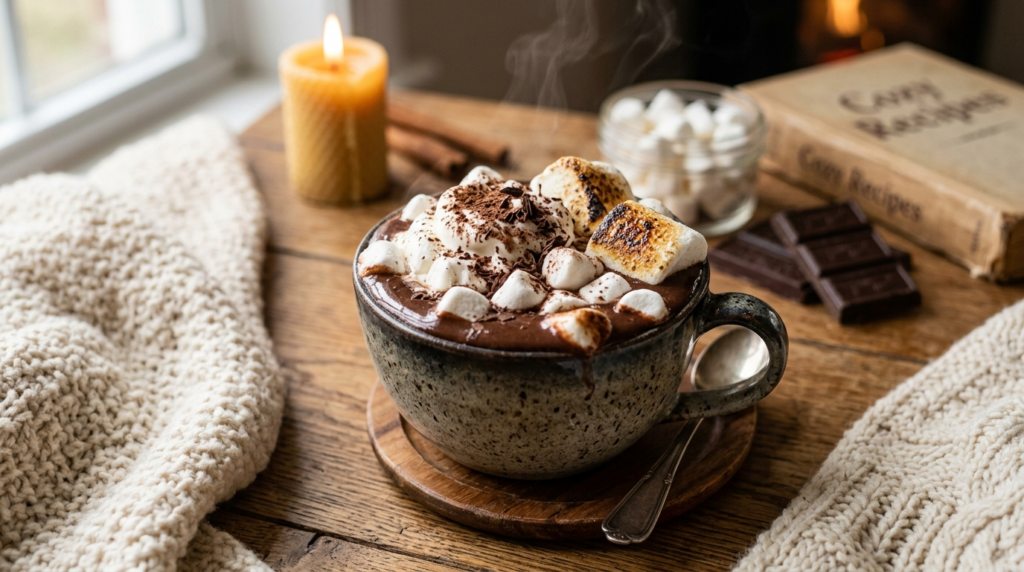
Best Homemade Hot Chocolate with Marshmallows
Prep time: 2 minutes
Cook time: 5 minutes
Total time: 7 minutes
I have a confession. I used to be a Swiss Miss person. Those little packets with the dehydrated marshmallows? That was my entire childhood. And honestly I thought that was what hot chocolate tasted like. Then a friend of mine made it from scratch one winter and I felt personally betrayed by every instant mix I’d ever consumed.
Homemade hot chocolate takes about five minutes. Maybe less. And it tastes like an entirely different drink.
Ingredients
- 2 cups whole milk (oat milk works too)
- 2 tablespoons unsweetened cocoa powder
- 2 tablespoons sugar
- ¼ cup chopped chocolate (dark or milk, depends on my mood)
- Tiny pinch of salt (don’t skip this)
- ½ teaspoon vanilla extract
- Marshmallows for the top. Lots of them.
I warm the milk in a small saucepan. Not boiling, just warm. Then I whisk in the cocoa, sugar, and salt. Once that’s dissolved I add the chopped chocolate and keep whisking until it’s smooth. Stir in the vanilla at the end.
Pour it into whatever mug makes you happiest. Mine is an oversized blue one I got at a thrift store years ago. Pile on the marshmallows. Sit down somewhere comfortable.
That’s it. No recipe card needed. You’ll remember it after making it once.
Oh, and one time I added a tiny spoonful of espresso powder to the mix. Game changer. Not enough to make it taste like coffee, just enough to make the chocolate flavor deeper. Try it if you’re curious.
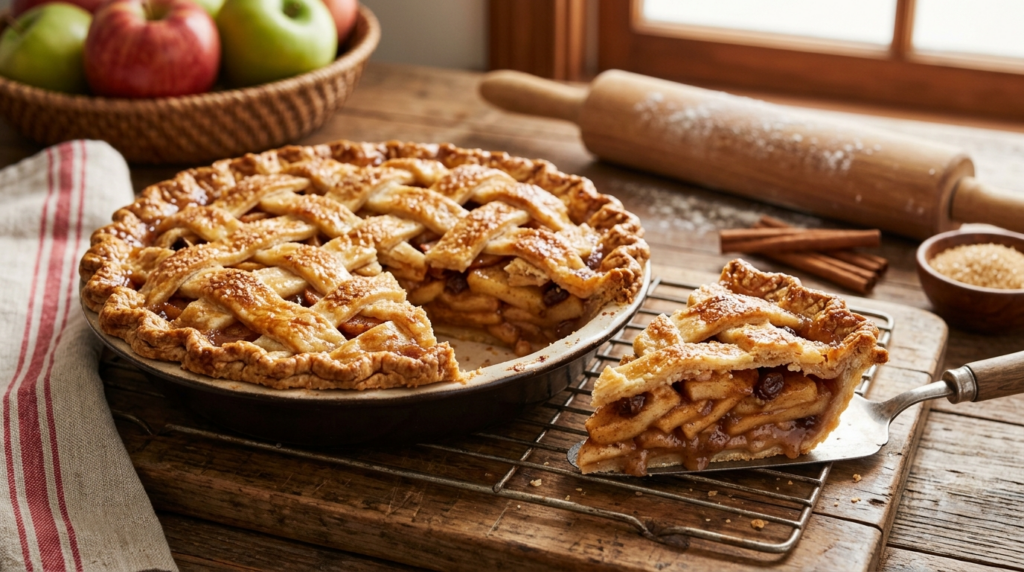
Classic Homemade Apple Pie Recipe from Scratch
Prep time: 30 minutes (plus 30 minutes chill time for the dough)
Cook time: 45–50 minutes
Total time: about 1 hour 45 minutes
Apple pie is one of those things I only make a few times a year but every single time I wonder why I don’t make it more often. The house smells unbelievable. Like cinnamon and butter and warm apples and basically everything good in the world.
I’ll be real: I make my own crust. I know that’s extra. I know store-bought is fine. But my mom always made hers from scratch and the one time I tried to sneak in a store-bought shell she noticed immediately. So here we are.
Ingredients for the crust
- 2½ cups all-purpose flour
- 1 cup cold unsalted butter, cubed (and I mean COLD)
- 1 tsp salt
- 1 tbsp sugar
- 6–8 tbsp ice water
Ingredients for the filling
- 6 cups sliced apples (I mix Granny Smith with Honeycrisp for that tart-sweet combo)
- ¾ cup sugar
- 2 tbsp all-purpose flour
- 1½ tsp cinnamon
- ¼ tsp nutmeg
- 1 tsp lemon juice
- 1 tbsp butter, cut into little cubes
The crust is the hardest part, and it’s still not that hard. I combine the flour, sugar, and salt, then cut in the cold butter until it looks like rough crumbs. Some people use a food processor. I use a pastry cutter and my hands because I’m stubborn. Add the ice water one tablespoon at a time until the dough holds together. Don’t overwork it or it gets tough. Split it in half, wrap both halves, and stick them in the fridge for thirty minutes.
While that chills I toss the apples with sugar, flour, cinnamon, nutmeg, and lemon juice. Let them sit so the juices come out a bit.
Roll out the first dough disc and press it into a nine-inch pie dish. Pile the apples in. Dot with those little butter cubes. Roll out the second crust, lay it on top, crimp the edges however you like (mine always look a little uneven and I’ve made peace with that), and cut some slits in the top.
Brush with a little milk or egg wash, then bake at 400°F for 45 to 50 minutes. When it’s golden brown and you can see the filling bubbling through the slits, it’s done. Let it cool just enough so you don’t destroy it when you cut in.
Vanilla ice cream on top. Not optional. Okay fine, it’s optional. But come on.
5-Minute Chocolate Lava Mug Cake in the Microwave

Prep time: 3 minutes
Cook time: 1 minute
Total time: under 5 minutes
This is my guilty pleasure. My late-night weakness. The thing I make at 11pm when I’ve already brushed my teeth and then decide that was premature because I need chocolate.
A chocolate lava mug cake. In the microwave. In under five minutes. I know how it sounds. I was skeptical too. But the first time I made one and cracked through the cakey outside to find that melty gooey center, I became a convert. I’ve probably made this fifty times since then. Possibly more. I’ve stopped counting.
Ingredients (serves 1)
- 3 tbsp all-purpose flour
- 2 tbsp cocoa powder
- 2 tbsp sugar
- ¼ tsp baking powder
- Pinch of salt
- 3 tbsp milk
- 2 tbsp vegetable oil or melted butter
- Splash of vanilla (optional)
- 1 tbsp chocolate chips or a square of dark chocolate (this is your lava, don’t skip it)
I whisk the dry stuff together right in the mug. Then I add the milk, oil, and vanilla and stir until it’s smooth. And here’s the important part: I drop the chocolate chips right into the center and I do NOT stir them in. Just push them down a little. They need to stay in the middle so they melt into that gooey pocket.
Microwave for 50 to 70 seconds. Every microwave is different so you might need to experiment the first time. The edges should look set. The middle should look like it’s not quite done. That’s exactly what you want.
Sometimes I put a scoop of ice cream on top and watch it melt down the sides. Sometimes I drizzle peanut butter over it. Once I sprinkled sea salt flakes on top and felt like I was at a fancy restaurant instead of standing in my kitchen in pajamas at midnight.
What I’ve Learned About Cooking on Rainy Days
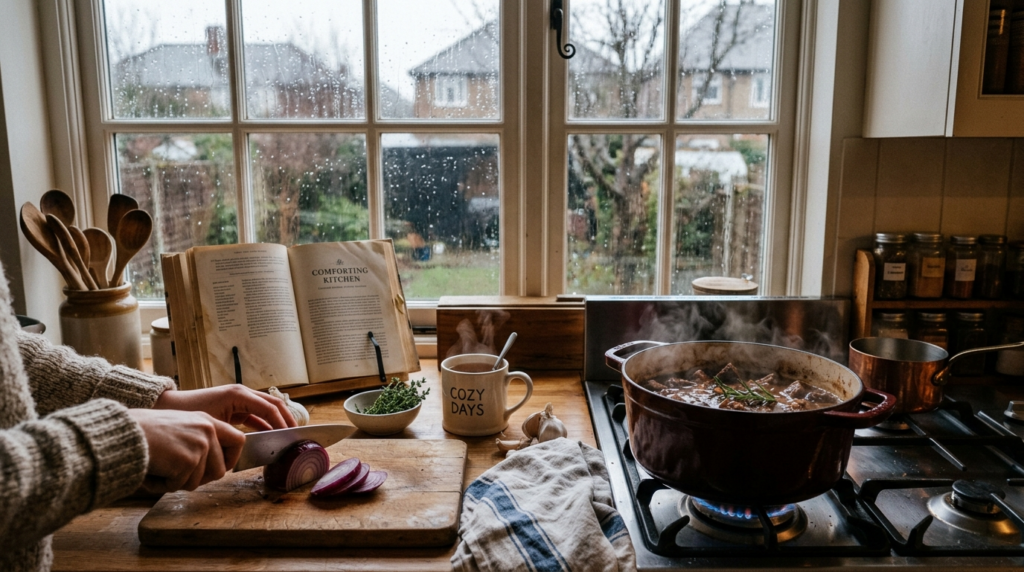
I don’t know. Maybe it’s cheesy. But some of my best memories are connected to cooking on days when the weather was terrible outside. That banana bread I made during a thunderstorm last October. The pot pie I pulled together for my sister when she came over soaking wet and miserable after a bad day at work. The mug cake I ate alone at midnight while watching a movie I’d already seen four times.
Food doesn’t fix everything. I know that. But it fixes the small things. A cold apartment. A bad mood. That restless feeling when the rain just won’t stop.
So next time the sky goes gray, maybe don’t fight it. Put on some music. Open the kitchen. Make something warm. Even if it’s just a cup of hot chocolate with too many marshmallows.
That’s enough.