

A cast iron skillet is either your most reliable pan or a rusty paperweight collecting dust behind the Dutch oven. This guide covers cast iron skillet seasoning from scratch, everyday cleaning, and full restoration of pans that look like they’ve been buried in a yard for a decade. I’ve been cooking on cast iron daily for a long time, and most of what I know came from screwing things up first.
How I Learned to Stop Ruining Cast Iron
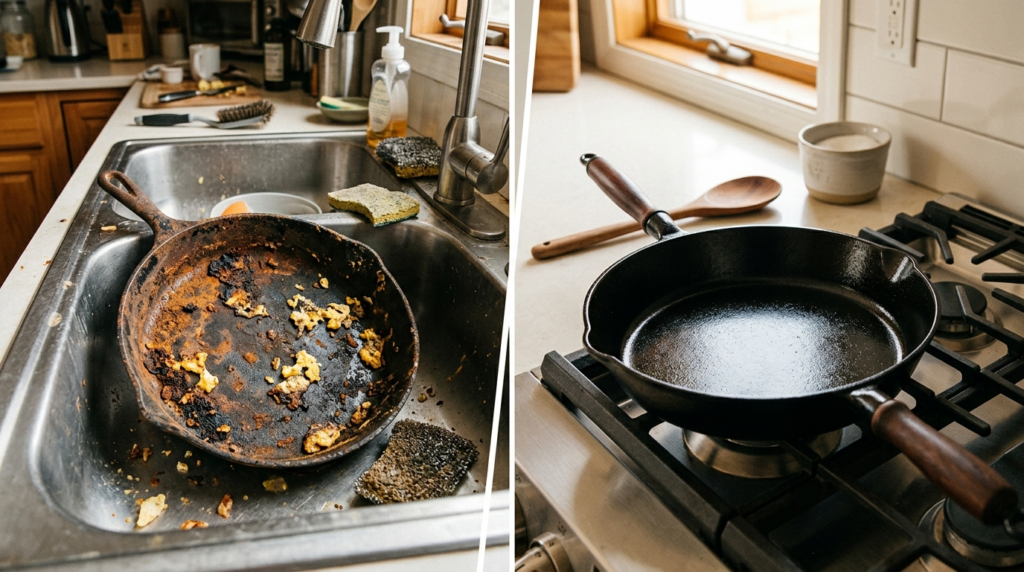
I bought my first Lodge skillet in my early twenties and immediately made scrambled eggs on it. No oil, no prep, just cold eggs on bare iron. They fused to the surface. I panicked, grabbed a Brillo pad, scrubbed it raw, left it in the sink overnight. By morning it was covered in rust. I almost threw it out. A friend talked me through the seasoning process that weekend, and that same pan is on my stove right now, black and smooth. So yeah. Cast iron is forgiving. You just have to meet it halfway.
What Cast Iron Seasoning Actually Is
Seasoning a cast iron skillet has nothing to do with spices or flavor. It’s polymerization. You coat the pan in a very thin layer of oil, heat it past the oil’s smoke point, and the fat molecules bond to the iron and to each other, forming a hard, slick surface. Stack enough of these layers and you get something that rivals any non-stick coating. That’s the whole concept. Everything else is details.
The internet makes this way more confusing than it needs to be. One person swears by grapeseed oil. Another insists on flaxseed. Someone’s grandmother used nothing but bacon grease for sixty years. They’re all partially right, and I’ll explain what actually holds up over time based on my own pans, not theory.
Choosing the Right Oil for Cast Iron Seasoning
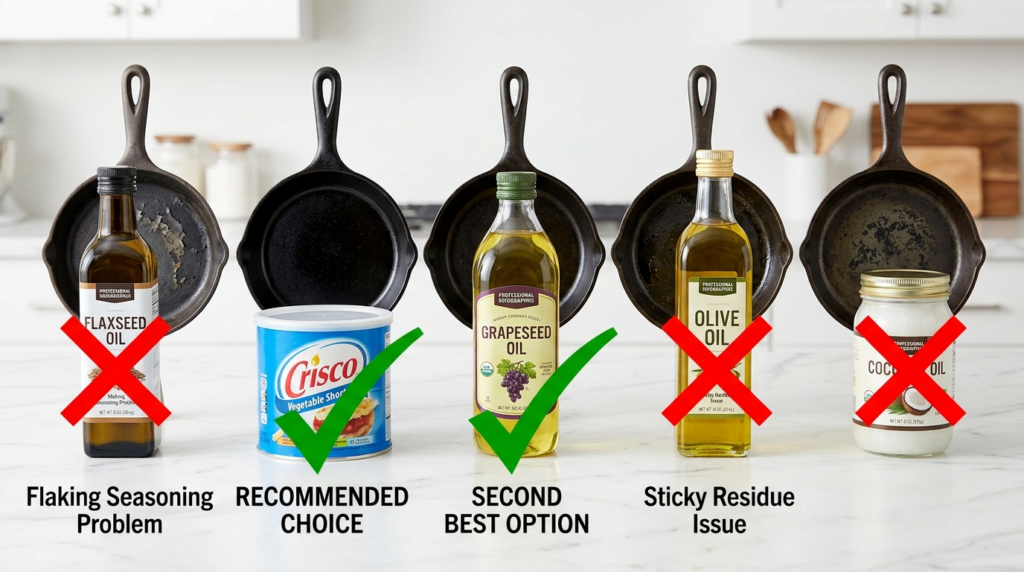
Flaxseed oil had a big moment a few years ago. It polymerizes beautifully because of its low smoke point, and the initial result looks incredible. But the seasoning it creates is brittle. After a few months of daily cooking, mine started flaking off in little dark chips. Into my food. I stopped using it.
Crisco vegetable shortening is what Lodge recommends, and it genuinely works well. About a tablespoon per layer, cheap, available everywhere, creates a durable and even coating. This is what I reach for when I’m seasoning from bare metal. Grapeseed oil is my second choice. Higher smoke point, neutral, polymerizes nicely. Either one will do the job.
Avoid olive oil for seasoning. Extra virgin smokes too early and leaves a tacky residue that never fully hardens. And coconut oil made my pan smell like a beach vacation for a week while producing mediocre results. Save both for cooking after your seasoning is established.
How to Season a New Cast Iron Skillet

Most modern cast iron from Lodge, Victoria, or Camp Chef comes with a factory pre-seasoning. It’s a start, but it’s not enough for real non-stick performance. Here’s how I build on it.
Wash the new pan with warm water and a small drop of dish soap. Dry it with a towel, then set it on a burner over low heat for a couple minutes to drive off any remaining moisture. Moisture is always the enemy with cast iron, so this step matters more than it seems.
Now rub about a tablespoon of Crisco or grapeseed oil over every surface. Inside, outside, handle, all of it. Use a paper towel. And then wipe almost all of it back off. This is the part people skip and it’s the reason their seasoning turns out sticky and uneven. You want the thinnest possible film. It should look like there’s barely anything on there. Too much oil is worse than too little. I got this wrong multiple times before it clicked.
Place the pan upside down in the oven at 450°F. Put some foil on the lower rack to catch drips. Bake for one hour. Turn the oven off, leave the door closed, let everything cool completely. That takes a couple hours. I usually start after dinner and just leave it overnight.
That’s one layer. For a new pan, I do three or four rounds. Yes, it eats up most of a day. But you’re building something that will last decades, so the math works out.
Temperature Matters
You need to exceed your oil’s smoke point for polymerization to actually happen. 450°F with Crisco or grapeseed works well. Make sure the oven is truly preheated, not just beeping that it’s ready. Most ovens lie. Give it a solid 15-20 minutes after the preheat signal, or use a standalone oven thermometer. I keep a cheap Taylor one in mine and it’s been one of the better $7 purchases I’ve made for the kitchen.
How to Clean Cast Iron After Cooking

While the pan is still warm, rinse it under hot water and scrub with a stiff brush or a chain mail scrubber. I use the Lodge chain mail scrubber and it handles stuck-on food without touching the seasoning underneath. It’s one of those tools that just works exactly as advertised, which is rare.
And yes, you can use a little dish soap. Modern dish soap like Dawn is not the lye-based stuff from the 1950s. It’s not going to strip polymerized oil off metal. I use a drop every few washes, especially after cooking fish or anything strong-smelling. The seasoning is fine. I promise.
After washing, dry the pan immediately with a towel, then put it back on a burner over medium-low for a minute to evaporate any lingering moisture. Once it’s completely dry, rub in about half a teaspoon of oil with a paper towel. That’s your maintenance layer, and doing it consistently after every wash is honestly more important than the oven seasoning ritual. This is what builds a great surface over time. Just a thin wipe. Five seconds.
How to Restore a Rusty or Neglected Cast Iron Skillet
Restoration is one of my favorite things to do with cast iron, and I realize that makes me sound like a specific kind of person, but here we are.
Light Rust and Surface Gunk
Pour a couple tablespoons of coarse kosher salt into the pan with a splash of oil. Scrub hard with a paper towel or, weirdly, a cut potato. The oxalic acid in the potato helps break down the rust while the salt works as an abrasive. Rinse, dry, inspect. Repeat if needed. Then do the full oven seasoning, at least four layers, to rebuild what was lost.
Heavy Rust or Unknown History
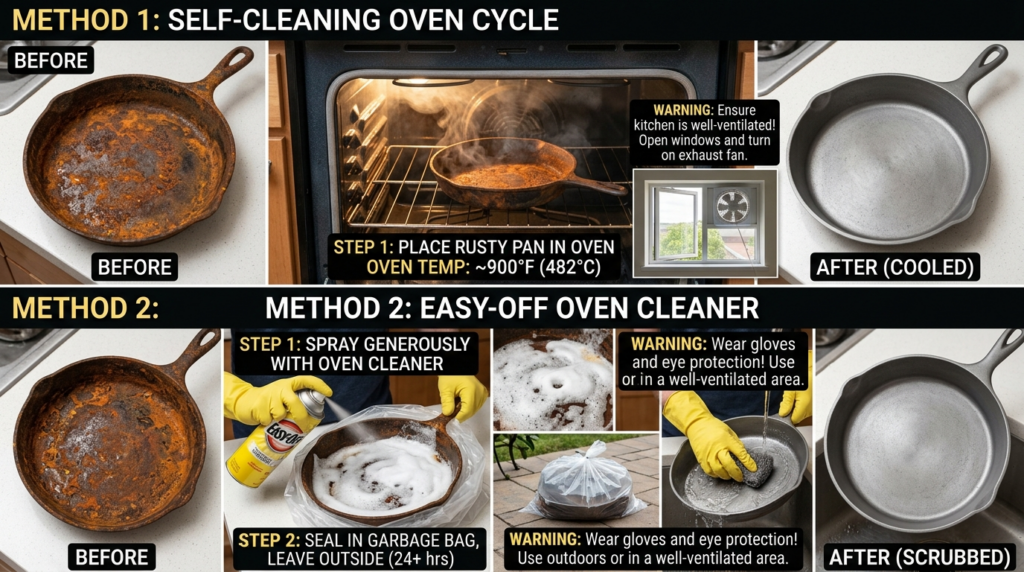
Sometimes a pan is too far gone for scrubbing and you need to strip it down to bare metal. Two approaches work well.
The first is your oven’s self-clean cycle. It runs around 900°F and incinerates everything on the surface. Your kitchen will smell awful, so open windows and run the fan. When it cools you’ll have a grey, bare, clean piece of iron ready for seasoning from scratch. The second option is Easy-Off oven cleaner, the heavy duty version in the yellow can. Spray the pan generously, seal it in a garbage bag, leave it outside for a day or two. The lye in the cleaner dissolves the old seasoning. Rinse it off wearing gloves, scrub with steel wool, and you’re back to bare iron.
I lean toward the Easy-Off method. It’s gentler on the metal and there’s no risk of heat warping, which is mostly theoretical with thick, quality cast iron but becomes a real concern with thinner or older pans.
One important thing: don’t wait after stripping. Bare cast iron rusts fast, especially in humid air. Start your seasoning layers the same day.
Building Seasoning Through Everyday Cooking
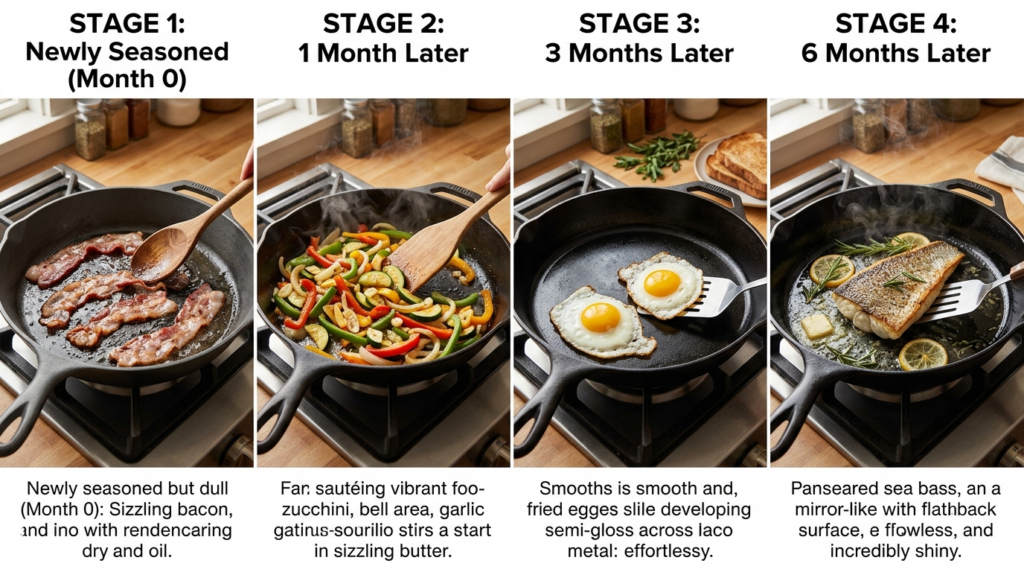
Oven seasoning gives you a foundation. But the real seasoning, the stuff that makes a pan genuinely non-stick after months of use, comes from cooking. For the first couple weeks with a new or restored pan, cook fatty things. Bacon, sausage, cornbread with butter, skin-on chicken thighs. Every time you cook with fat at high heat, you’re adding another thin layer of polymerized oil without even trying.
What you should avoid early on is acidic food. Tomato sauce, wine, vinegar, lemon juice. Acid eats through young seasoning. I simmered a marinara in a freshly seasoned skillet once and ended up with metallic-tasting sauce and visible bare spots on the pan. Once your seasoning has been building for a few months and the surface is dark and smooth, a quick pan sauce with tomatoes or wine is no problem. But don’t push it early.
Also, preheat your cast iron slowly. Start on medium-low and let it warm up for a few minutes before increasing the heat. Cast iron has hot spots, and gradual heating gives the whole surface time to come up to temperature more evenly. Food sticks less when the heat is distributed properly.
Storing Cast Iron
Keep it somewhere dry. That’s really the main thing. I leave my everyday skillet on the stove permanently. Other pans go in a cabinet with a paper towel or a felt liner between them so they don’t trap moisture against each other. In humid climates you might want to be extra diligent about that post-wash oil wipe before stacking anything away.
The Whole Point
Cast iron care is not about perfection. It’s about regularity. A thin wipe of oil after every wash, a few minutes of attention, and the pan builds itself into something remarkable over time. You’re going to mess up. You’ll use too much oil and get sticky patches. You’ll forget to dry it and find rust spots. You’ll make that tomato sauce too soon. None of it is permanent. Strip it, re-season, keep going. The pan will outlast you, and that’s honestly the whole appeal. A decent Lodge skillet costs twenty-something dollars and will still be cooking for whoever inherits it. Nothing else in your kitchen can say that.